Wheels are used to describe sets of selectable slots which modify the color and/or shape of a light beam, for example color wheels, gobo wheels, animation wheels or prisms. Also virtual wheels like color preset channels or swatchbooks are treated as wheels in GDTF.
This chapter describes how to create a fully working color wheel. Please go to the Wheels page in the GDTF Builder to start.
The structure of GDTF allows you to create any combination of wheel type in any slot. However, we will focus on single-type wheels here.
Empty Wheels page
Creating a wheel
In the column on the left, click on Add Wheel to add a new wheel. A new wheel with one slot will be created.
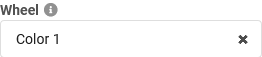
Click on the Edit icon next to the red X to name the wheel. The Change Wheel Name pop-up opens. We will call it Color 1.
Select the first wheel slot. This will be an open wheel slot with no color.
For Name enter Open. For the rest, leave the values at their defaults.
Create a second slot by clicking on Add Wheel Slot.
For Name enter Red.
Click on the Edit icon of the Color property. The color picker pop-up opens.
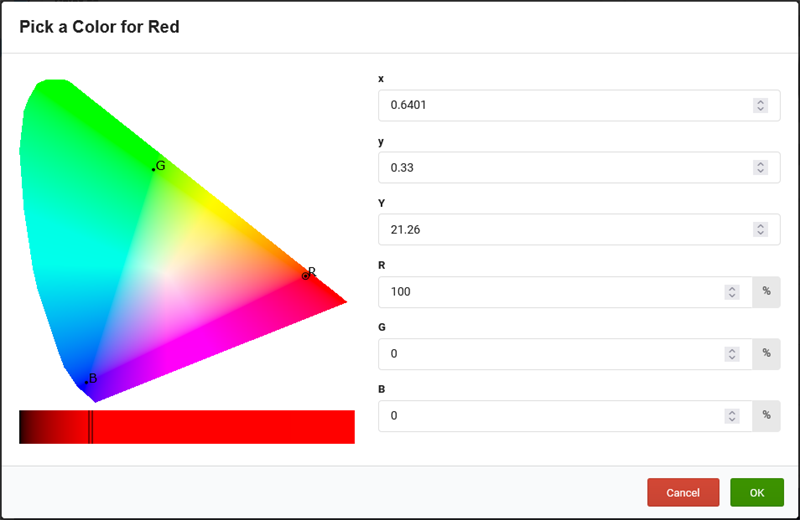
Enter the R, G and B values as shown in the screenshot below. Then click OK.
Color Picker pop-up
The color values given here are only examples. When building a real fixture, you should enter the real color values of the output in CIE xyY color space.
For wheels holding real color filters (subtractive color mixing), you should instead create Filters on the Physical Descriptions page and give spectral distribution data for them. These can then be linked in the Filter property of the wheel slot.
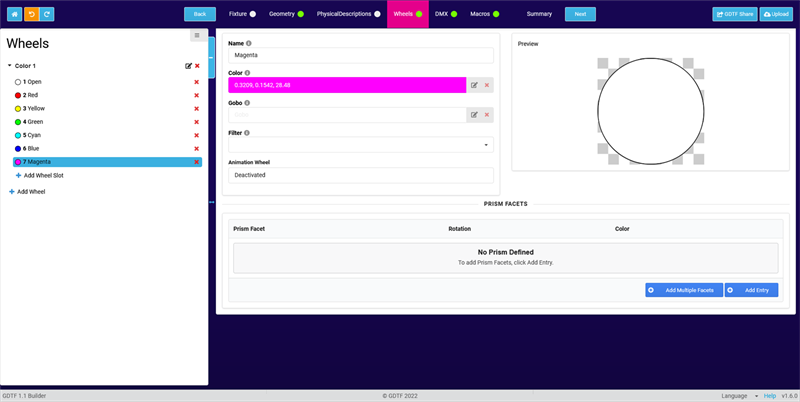
Repeat steps 4 and 5 for any colors you like, for example yellow, green, cyan, blue and magenta. In the end, your wheel could look like this:
Wheels page with one color wheel
Setting up a DMX channel to use the wheel
Now that the wheel itself exists, we need to describe how to control it. Go to the DMX page as a starting point.
Empty DMX page
Assuming that you have already created a DMX mode, click on Add Channel in the left column to create a new DMX channel.
The Add New Channel pop-up opens.
For Geometry, select your Beam geometry and click in the Attribute field.
The Select Attribute pop-up opens.
Search for the Attribute Color(n), select it and click OK two times to confirm both pop-ups.
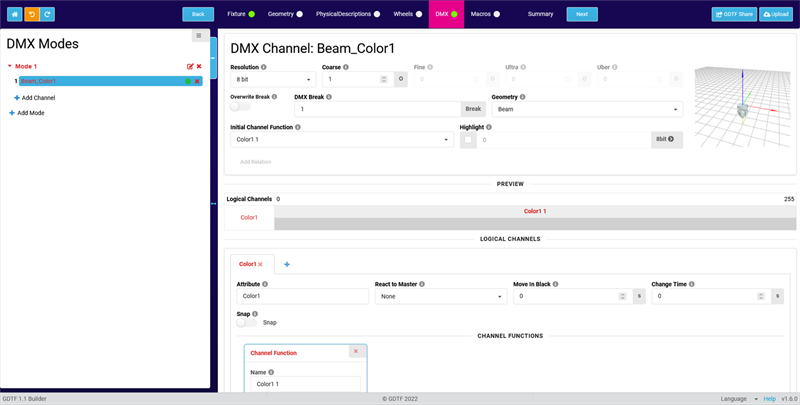
Your DMX channel should now look like this:
DMX page after creating a channel for Color1
If you need to create a second color wheel, you can increase the number of the Wildcard (n).
Fill out the generic properties of the DMX channel according to your needs. We will focus on the specific data for color wheels here.
We want our color wheel to go to the open slot if we use Highlight on a lighting console. Enable Highlight and enter the DMX value of the open wheel slot (in our example 0).
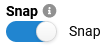
Also, we usually don't want the color wheel to fade through the slots when we fade between two cues. So we will enable the Snap toggle, which tells the lighting console to instantly jump to the new wheel slot instead of fading it together with the other attributes.
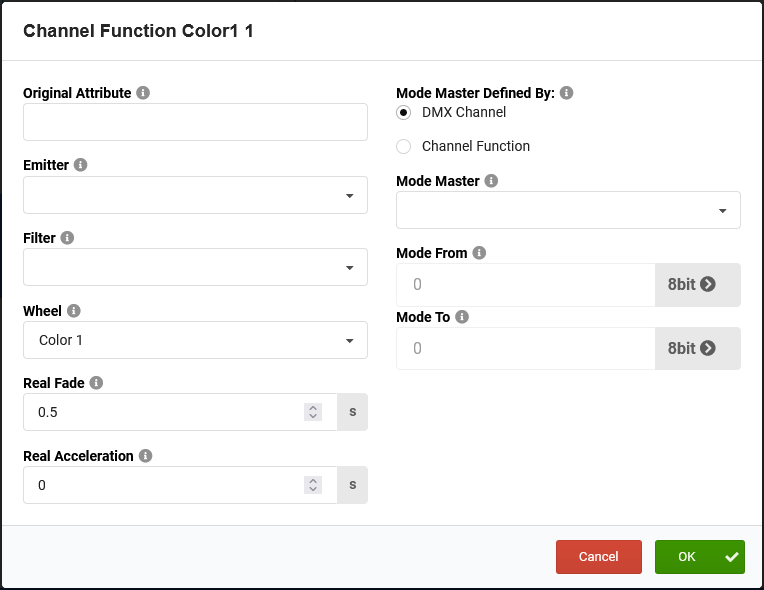
Now we want to link the previously created wheel to the DMX channel. In the Channel Function, select "Color 1" in the Wheel dropdown list.
Real color wheels can't snap in no time between any wheel slots, but instead will more or less quickly run through the slots in between. To describe this behavior, you can give a Real Fade value. Click on Edit Additional Properties at the bottom of your Channel Function and set Real Fade for example to 0.5 seconds. Confirm with OK.
Next, we need to distinguish between different wheel modes. We will have a look at how to describe wheels with continuous color selection (wheel can be freely positioned), fixed color selection (only full slots or split colors can be selected) and wheel spin ("rainbow effect").
Case 1: Continous color selection
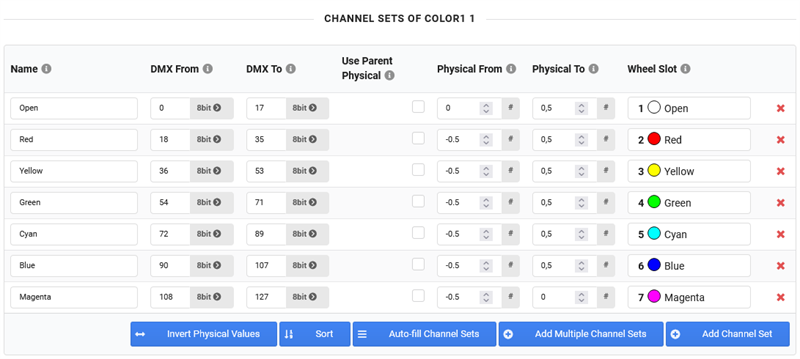
In the Channel Sets section, click on Auto-fill Channel Sets. This will create one channel set for every slot of your wheel.
Adjust the DMX From and DMX To values of the channel sets if needed.
For the first channel set, set Physical From to 0 and Physical To to 0.5.
For the last channel set, set Physical From to -0.5 and Physical To to 0.
For all channel sets in between, set Physical From to -0.5 and Physical To to 0.5.
Meanings of the physical values in channel sets for wheels:
Physical
Meaning
0
The current wheel slot is fully inserted into the beam
-0.5
The current wheel slot is half way inserted into the beam
(the previous wheel slot is half way moved out of the beam)
0.5
The current wheel slot is half way moved out of the beam
(the next wheel slot is half way inserted into the beam)
Case 2: Fixed color selection (full and/or split colors)
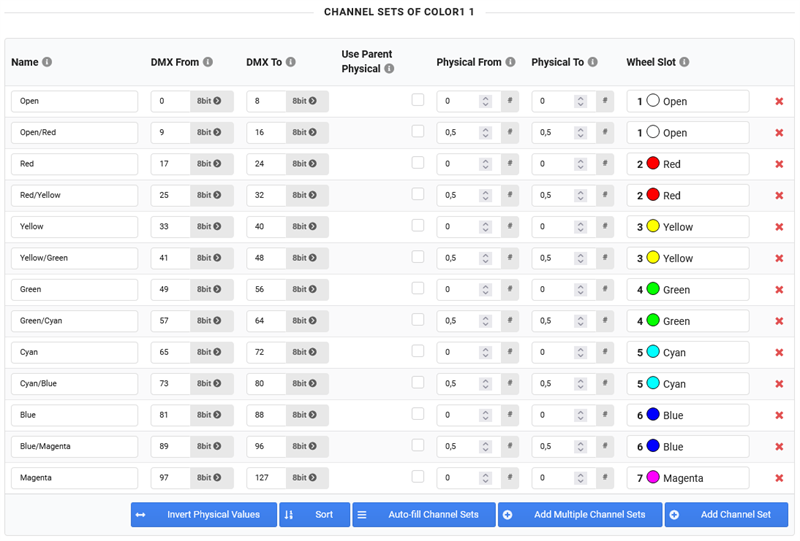
In the Channel Sets section, click on Auto-fill Channel Sets. This will create one channel set for every slot of your wheel (full colors).
If you would like to create channel sets for split colors, click on Add Multiple Channel Sets and enter the number of split colors.
For each new channel set, select one of the corresponding color wheel slots in the Wheel Slot column.
Adjust the DMX From and DMX To values of the channel sets if needed.
For the full color channel sets, set Physical From and Physical To to 0.
For the split color channel sets, set Physical From and Physical To to:
-0.5, if the selected wheel slot should be combined with the previous wheel slot
0.5, if the selected wheel slot should be combined with the next wheel slot.
Meanings of the physical values in channel sets for wheels:
Physical
Meaning
0
The current wheel slot is fully inserted into the beam
-0.5
The current wheel slot is half way inserted into the beam
(the previous wheel slot is half way moved out of the beam)
0.5
The current wheel slot is half way moved out of the beam
(the next wheel slot is half way inserted into the beam)
Case 3: Wheel spin (rainbow effect)
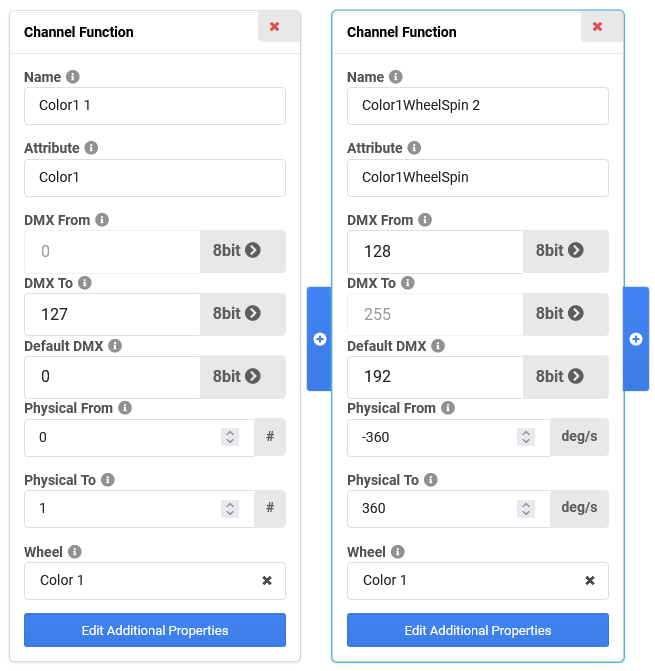
If you want to describe a spinning color wheel, you need to create a new Channel Function, as you need to use a sub-attribute of Color1.
Click on the + icon right of your existing channel function.
The Add Channel Function pop-up opens.
Click in the Attribute field. The Select Attribute pop-up opens. Search for the Attribute Color(n)WheelSpin, select it and confirm both pop-ups by clicking on OK.
Adjust the DMX From, DMX To and Default DMX values of both channel functions to your needs.
The Default DMX value for the wheel spin function should be set to the "stop" value.
In the new Channel Function, select again "Color 1" in the Wheel dropdown list.
The unit of the Physical From and Physical To properties of the channel function will change to "deg/s" (degrees per second).
Enter the real rotation speed values of your color wheel in the Physical From and Physical To fields. For example: From = -360 deg/s, To = 360 deg/s
For convenient operation of the fixture, you can now add some Channel Sets to the channel function.
Click on Add Multiple Channel Sets and add 3 channel sets.
Let's call them "<<<" (counter-clockwise rotation), "stop" (no rotation) and ">>>" (clockwise rotation).
Adjust the DMX From and DMX To values to your needs. If the boxes in the Use Parent Physical column are ticked, the physical values for the channel sets are automatically calculated from the physical values of the channel function - double-check them for plausibility and manually adjust them if needed. The Wheel Slot column will not be used in this case.
Now you are able to create a color wheel with three functions: One to freely position the wheel, one to select wheel slots and split colors, and one for continously spinning the wheel.