Clicking the ![]() icon in the title bar opens the Upload page.
icon in the title bar opens the Upload page.
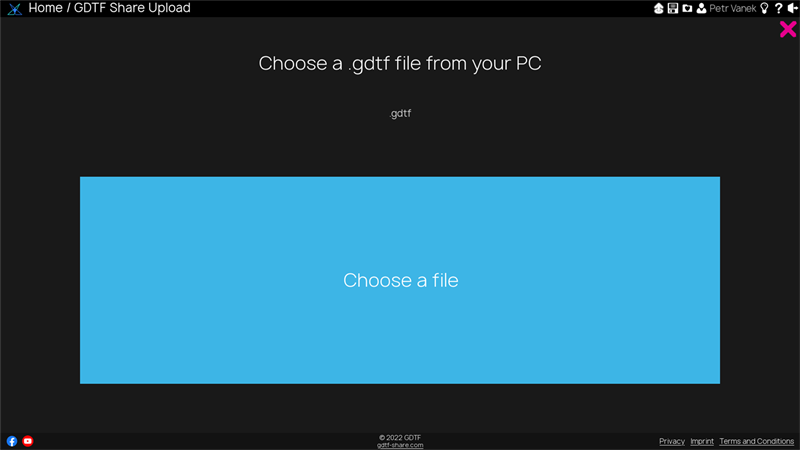
There is one button called Choose a file. Clicking it opens a file browser on the computer where the desired GDTF file can be selected. You can close the upload page at any time by clicking the ![]() in the upper right corner.
in the upper right corner.
When the file is selected a new button appears. It is called Proceed. This is an example with a gdtf file:
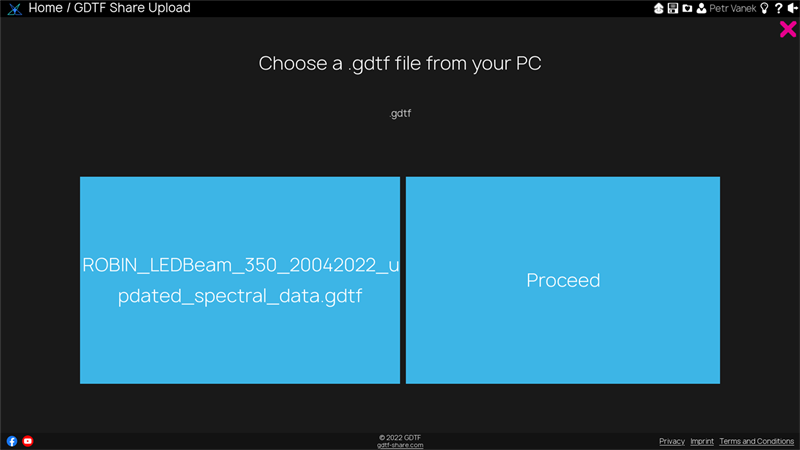
Click the Proceed button to upload the file. A progress will be shown.

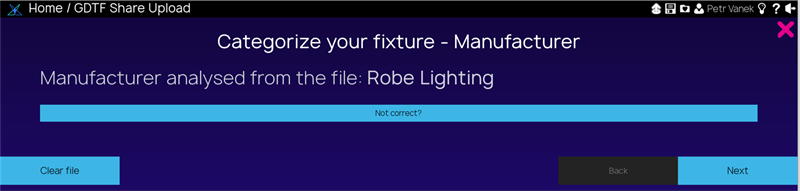
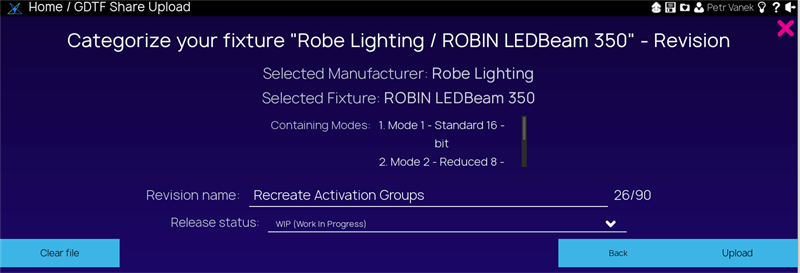
When the file is uploaded, it is analyzed for manufacturer name, device name and so on. The Share first tries to match an existing manufacturer. If needed, manufacturer can be changed. The Clear file button clears all the info and cancels the upload.

Then the name of the device is checked and if needed it can be changed.
Next you need to add a Revision name for the uploaded file and also a Release status. The revision text can be up to 90 characters. For example, if it is the first version of the fixture, it could be called "First version". If there is something that has been changed in the fixture file, then it can be a good idea to write what was changed.
The Revision status is by default set to WIP (Work In Progress), allowing you to save your work without publishing it yet. If you are ready to publish the file, you can set the Release status to Release. The Release status can also be changed later from inside the GDTF Share.
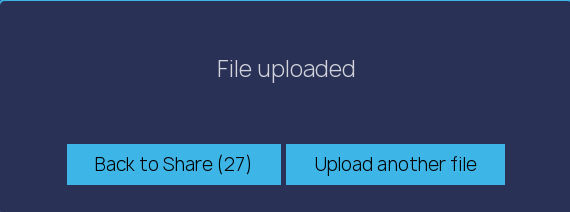
Clicking the Upload button uploads the file to the library and you can choose the Back to the Share button to close this dialog and go back to the share or click Upload another file to continue by uploading another file.